WAITS: Editors
Today we'll look at the text editors available on WAITS. There are two classes of editor: traditional teletype editors like SOS or TECO, and display editors like TV or E. Although the latter class is not fully working on emulation yet, it's interesting to get an idea of how they operated as they represent an early example of interactive editing.
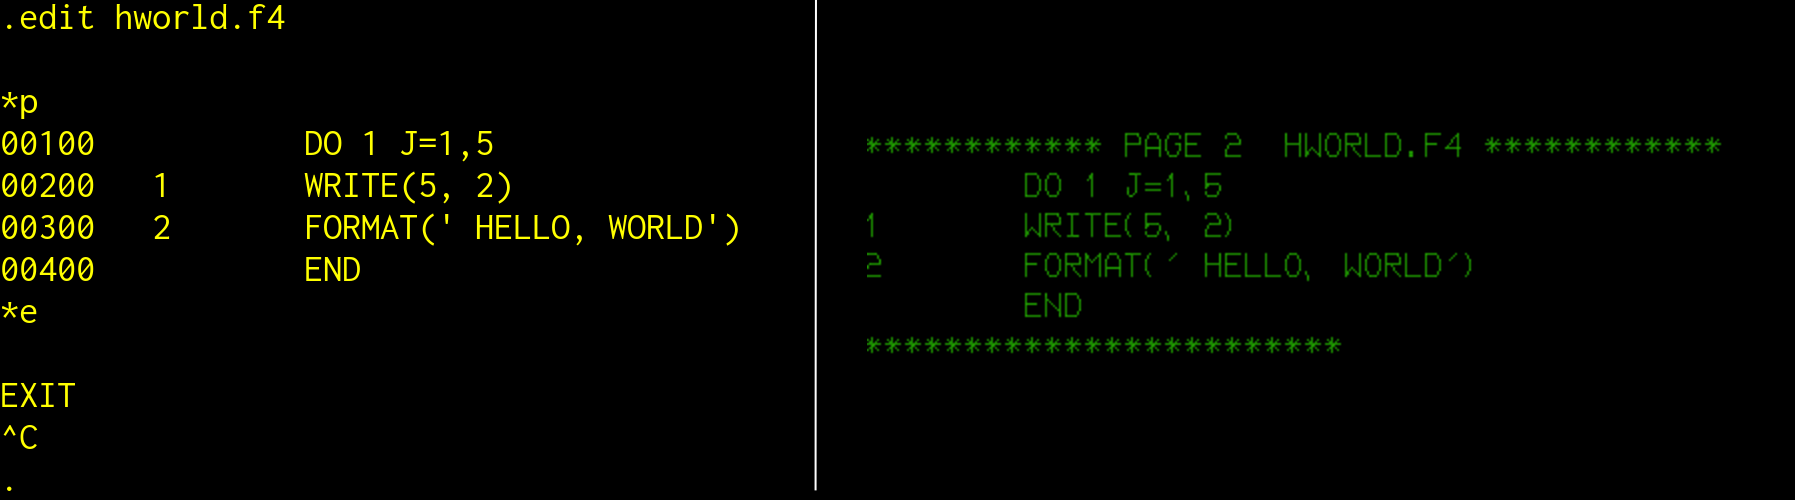 The SOS (left) and TV (right) editors. Source: Rupert Lane. License: CC0.
SOS
SOS - Son of Stopgap - was developed at Stanford and is a basic line orientated editor that can be run from any terminal type.
You can invoke it with CREATE file and it will create a file, start
SOS and let you enter text immediately, or EDIT file to edit an
existing file. The * prompt allows you to enter single letter
commands: in the above we see P to print the file and E to exit.
Each line has a line number prepended to it and you can give line
numbers as arguments to commands, eg P 100,200.
The version we saw on TOPS-10 is similar to what we have running on WAITS, so see my earlier post for more information. There are a couple of differences:
- files are always saved with line numbers; there is no equivalent of
the
EScommand - on display terminals only, the
Zcommand will allow you to edit a line with the standard line editing commands like Control-Space to move the cursor forwards and Control-Backspace to move it back. See the blog entry on terminals for more details.
Finally, on the console, SOS will represent non-standard characters
that are in the Stanford ASCII character set by preceding each with
the escape character ?, for example alpha α is shown as ?".
This includes lower case letters, eg lower case a is ?A. A plain question
mark is ??. See the SOS manual section 1.4 for details.
TECO
TECO - Text Editor and Corrector - is DEC's powerful but somewhat
cryptic character orientated editor. Operating this is the same as on
TOPS-10, so see my post there for more details. Type MAKE file to
create a file and start editing it, type TECO file to edit an
existing file.
The TV display editor
A display editor allows full use of the screen and keyboard of a display terminal like the III or DD, so you can navigate around the file and make changes quickly. This is similar in concept to editors you use today like Emacs or Vim, but the execution, and especially the keystrokes used, are quite different. The WAITS display editors predate the above editors and the IBM PC so there was no convention for it to follow.
Stanford created the TV editor initially in the late 1960s, and then rewrote it as the E editor; the functionality is much the same.
However, at present neither editor works completely on simh. E will crash after a few commands, and both E and TV don't properly display the arrow that shows what line you are on, so it's hard to make changes to a file. Neither editor works on the saildart.otg emulator.
But to give a taste of how these worked, I'll show how to create, view, navigate and edit files using TV.
Creating a file
First let's create a new text file. Log on to the III terminal using
L 1,REG. Create a new file with CTV, eg CTV new.txt. The screen
will clear and will either display a directory or a blank screen; in
either case press Control-P to move to the start of the file. You can
now type in text directly, pressing Return at the end of each line.
Press Control-E to save and exit.
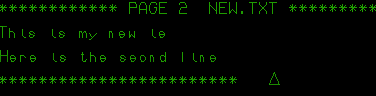 Creating a new file with the TV editor. Source: Rupert Lane. License: CC0.
Navigating in an existing file
As an example of editing a larger file, make a copy of the monitor
manual by typing at the monitor's . prompt COPY MON ←
MONCOM.BH[S,DOC] (The left arrow can be produced by pressing your
left cursor key).
Then open the file with TV mon. You will first see the directory
page, which has a one line summary of each subsequent page in the
file. Each page can be up to a few hundred lines long, and when stored
on disk each page is separated by a form feed. This method is used to
reduce the amount of text that needs to be kept in memory.
Try moving forward a page by typing Control-P; move back with Control-minus Control-P.
Let's say we want to look at section 1.3, Introduction to the Terminal. The directory shows this is on page 12, so you can type Control-1 Control-2 Control-P to give a prefix of 12 to the Control-P command. Your screen will now look something like this.
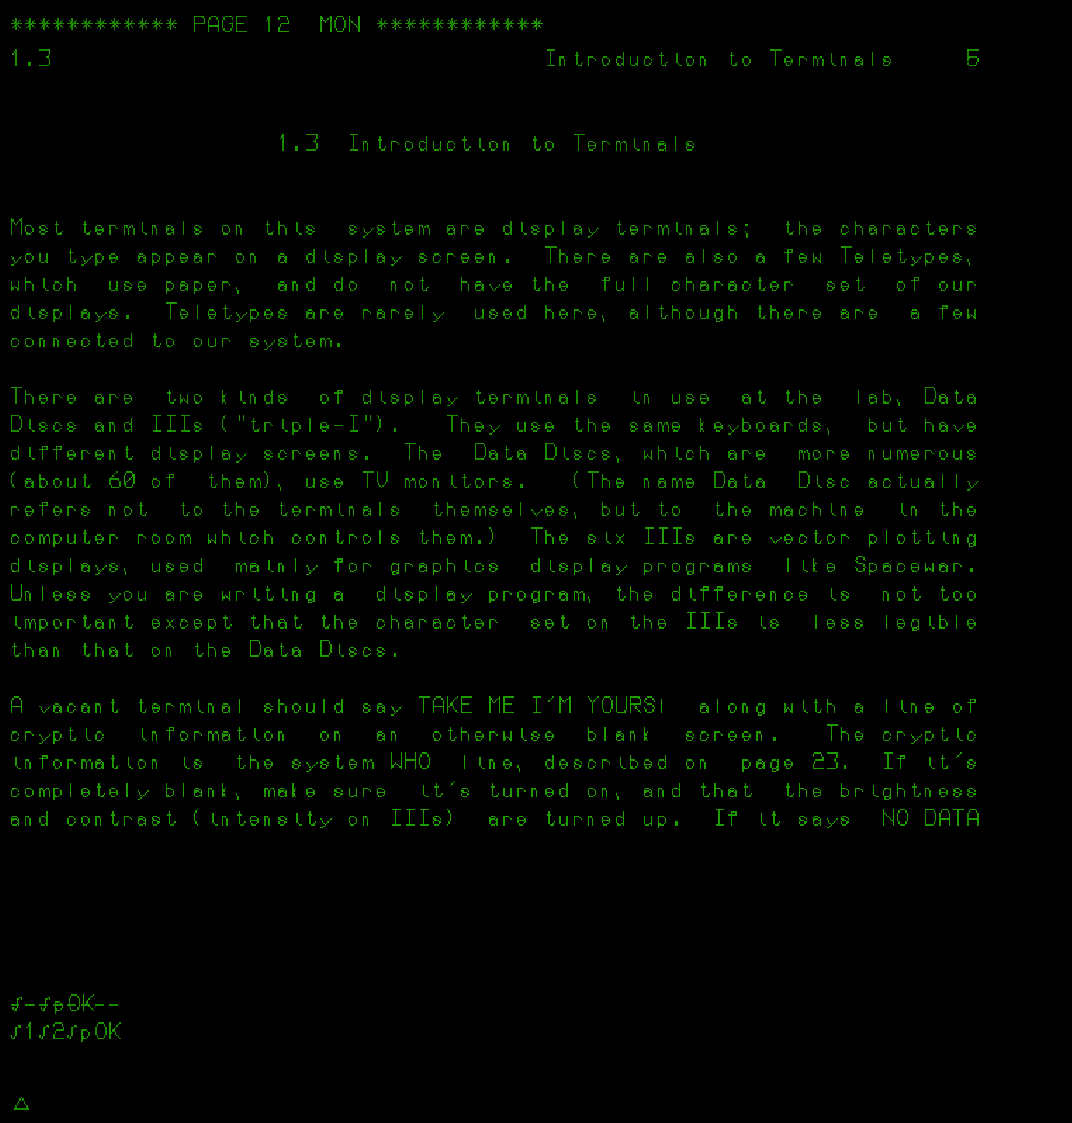 Navigation using the TV editor. Source: Rupert Lane. License: CC0.
The top shows the page number and a line of asterisks denoting the top of the page. The bottom shows a line of dashes, denoting there is more text in this page. Press F5 (FORM) to scroll the window down; press F6 (VT) several times to scroll back up. You will see the commands you are typing being echoed at the bottom of the screen. Control-T moves back by a page, Control-B forwards.
You can move forwards a line with Return and back a line with Backspace; however, as mentioned above, the arrow showing what line you are on is not working so it's a bit confusing.
Editing a line
To get an idea of how editing would work, press Control-Space. A triangular cursor will appear and the line being edited will move down slightly. You can now use the same line editing commands we saw in the blog entry on terminals, eg Control-Space to move forwards a character, Control-Backspace to move back. Typing a normal key will replace what is at the cursor. Press Esc (altmode) to reject your changes; had you wanted to accept them you would type Enter.
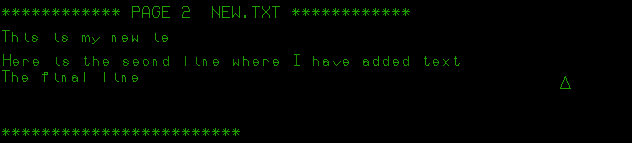 Editing text with the TV editor. Source: Rupert Lane. License: CC0.
There's also an issue here which may be a bug in the emulator. In the
image I have added text to the end of the second line and the right
hand cursor should be below the final t, but instead it is shifted
further to the right.
Moving text
The modern metaphor of the clipboard, where text can be moved or copied to another place, is called attach mode on TV. In the sequence of images below, I start with a four line file where the top line should be moved to the bottom.
 Moving text with the TV editor. Source: Rupert Lane. License: CC0.
- With the cursor on the first line, press Control-A to attach the line. You could give a prefix with Control-n to attach n lines.
- The line affected will show a bar in the left column.
- Press Return 3 times. The attached text will move down with each key press.
- Press Control-Alt-E to release the attached text, so it is now in its correct place.
Instead of Control-A at the start which does the equivalent of a cut operation, pressing Control-C will copy the text instead.
Exploring further
That's about how far I got. Looking at the manual, it does seem like it has some advanced capabilities, such as creating version histories and reformatting Lisp code. One thing to note with the manual is that it uses special prefixes to denote modifier keys - for example, instead of using "Control-P" like we would today it says "αP". The key to understand this is early on in the manual:
   α     means hold the "CONTROL" key down while typing a character.
   β     means hold the "META" key down while typing a character.
   αβ    means hold both "CONTROL" and "META" keys down while typing.
   ⊗     means use either α or αβ with the next character.
More information
Questions, corrections, comments
I welcome any questions or comments, and also especially any corrections if I have got something wrong. Please email me at rupert@timereshared.com and I will add it here and update the main text.